As electric vehicles (EVs) become more popular, Tesla is at the forefront of this exciting change in the automotive world. Installing a Tesla home charger is an essential part of making EV ownership easier and more convenient. In this guide, we will walk you through everything you need to know about installing a Tesla charger at home. Whether you’re thinking about getting a Tesla or have one already, understanding the installation process is key.
Let’s explore how to get your Tesla home charger installed, the different types of chargers, and how to save money while doing it.
Tesla Home Charger Installation: Convenience of EV Charging at Your Doorstep.
Tesla home charger installation is the process of setting up a charger at your home to recharge your Tesla vehicle. Just like you plug your phone into the wall at night to charge, your Tesla needs a charger that connects to your home’s electrical system. Installing a charger at home gives you the convenience of charging your car overnight, so you’re always ready to hit the road without worrying about finding a public charging station.
Home charging offers many advantages, such as avoiding “range anxiety,” which is the fear of running out of battery while driving. Having a Tesla charger at home means you can charge your car at any time, especially during off-peak hours when electricity costs may be lower.
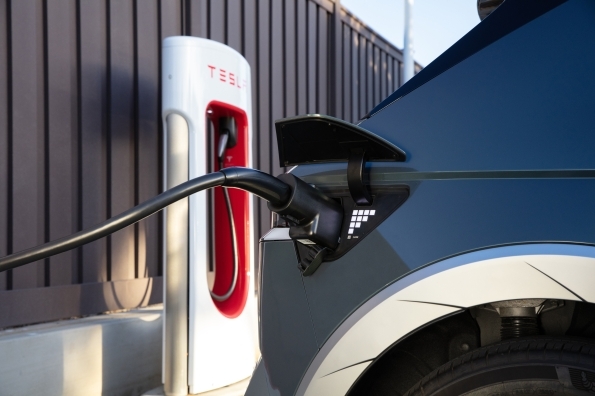
Tesla has set the standard for EV charging with its advanced technology and high-quality equipment. With options like the Tesla Wall Connector, Tesla makes it easier and faster to charge your EV. Whether you have a Tesla or another electric vehicle, Tesla’s home charging solutions are designed for simplicity and efficiency.
With Tesla EV charging installation, you’re ensuring your car is charged quickly, conveniently, and reliably. The Tesla home charger is also compatible with all Tesla models, so you won’t have to worry about any compatibility issues.
Types of Tesla Chargers for Home Use
Tesla offers different types of chargers for home installation. The most common ones are Level 1 and Level 2 chargers. Let’s take a closer look at what each one means.
Level 1 Charging
Level 1 charging uses the regular 120-volt electrical outlet that you already have in your home. This is the slowest option, but it can be useful for emergency charging or if you don’t need to charge your car quickly. Using a Level 1 charger, you can expect about 3 miles of driving per hour of charging. It’s great if you don’t drive your Tesla a lot each day, but for faster charging, you may want to consider other options.
Level 2 Charging
Level 2 chargers use a 240-volt outlet, which is similar to the outlets used for appliances like electric dryers. These chargers are faster and can give you up to 44 miles of driving range per hour of charging.
Tesla offers several Level 2 charging products:
- Tesla Wall Connector: This is the fastest home charging option, delivering up to 44 miles of range per hour of charging. The price for the Tesla Wall Connector is around $475, and installation can range from $750 to $1,500, depending on your home’s electrical system.
- Tesla Mobile Connector: This portable charging solution can deliver between 3 to 30 miles of range per hour of charging. It’s great for charging on the go but requires a 240-volt outlet to charge quickly. The price for the Mobile Connector is $230, with installation costs similar to the Wall Connector.
- Tesla Universal Wall Connector: The Tesla All-in-one charging solution is a versatile charger priced at $595, offering a fast and efficient way to charge your electric vehicle. The installation cost ranges from $750 to $1,500, depending on whether your home already has an approved outlet for charging. This charger is compatible with all EVs, including non-Tesla electric vehicles, and provides a charging speed of up to 44 miles per hour. It features both NACS and J1772 plug types, ensuring compatibility with a wide range of electric vehicles. The cable length is 24 feet, offering ample reach for various parking situations.

The Tesla Charger Installation Process
If you’re ready to move forward with Tesla home charger installation, here’s what the process looks like step by step:
Step 1: Evaluate Your Electrical System
Before installing a Tesla charger at home, you need to make sure your electrical system can handle the charger’s needs. Most homes have a 120-volt electrical system, which is suitable for Level 1 charging. However, for Level 2 charging, you’ll need a 240-volt outlet. An electrician can assess your home’s electrical system to see if it needs an upgrade. If you already have a 240-volt outlet, you’re one step ahead!
Step 2: Upgrade Your Electrical System (if Needed)
If your home doesn’t have a 240-volt outlet, you will need to have one installed. This is usually the most expensive part of the process, costing between $750 and $1,500. Your electrician will help you determine the best place to install the outlet, usually near your electrical panel and where you park your vehicle.
Step 3: Choose a Location for Your Charger
Next, you need to decide where to install the charger. It’s best to place it near where you park your Tesla, ideally close to your electrical panel for easier installation. Whether you choose a Tesla Wall Connector or a Mobile Connector, make sure the location is convenient and accessible.
Step 4: Choose the Right Tesla Charger
Tesla offers different charging options, as mentioned earlier. Choose the Tesla Wall Connector if you want fast charging. If you want a portable solution, the Tesla Mobile Connector could be a better fit. The choice depends on your budget, charging needs, and available space at home.
Step 5: Purchase the Charger
Once you’ve chosen the right charger for your home, it’s time to purchase it. You can buy the charger directly from Tesla’s website or through an authorized retailer.
Step 6: Prepare for Installation
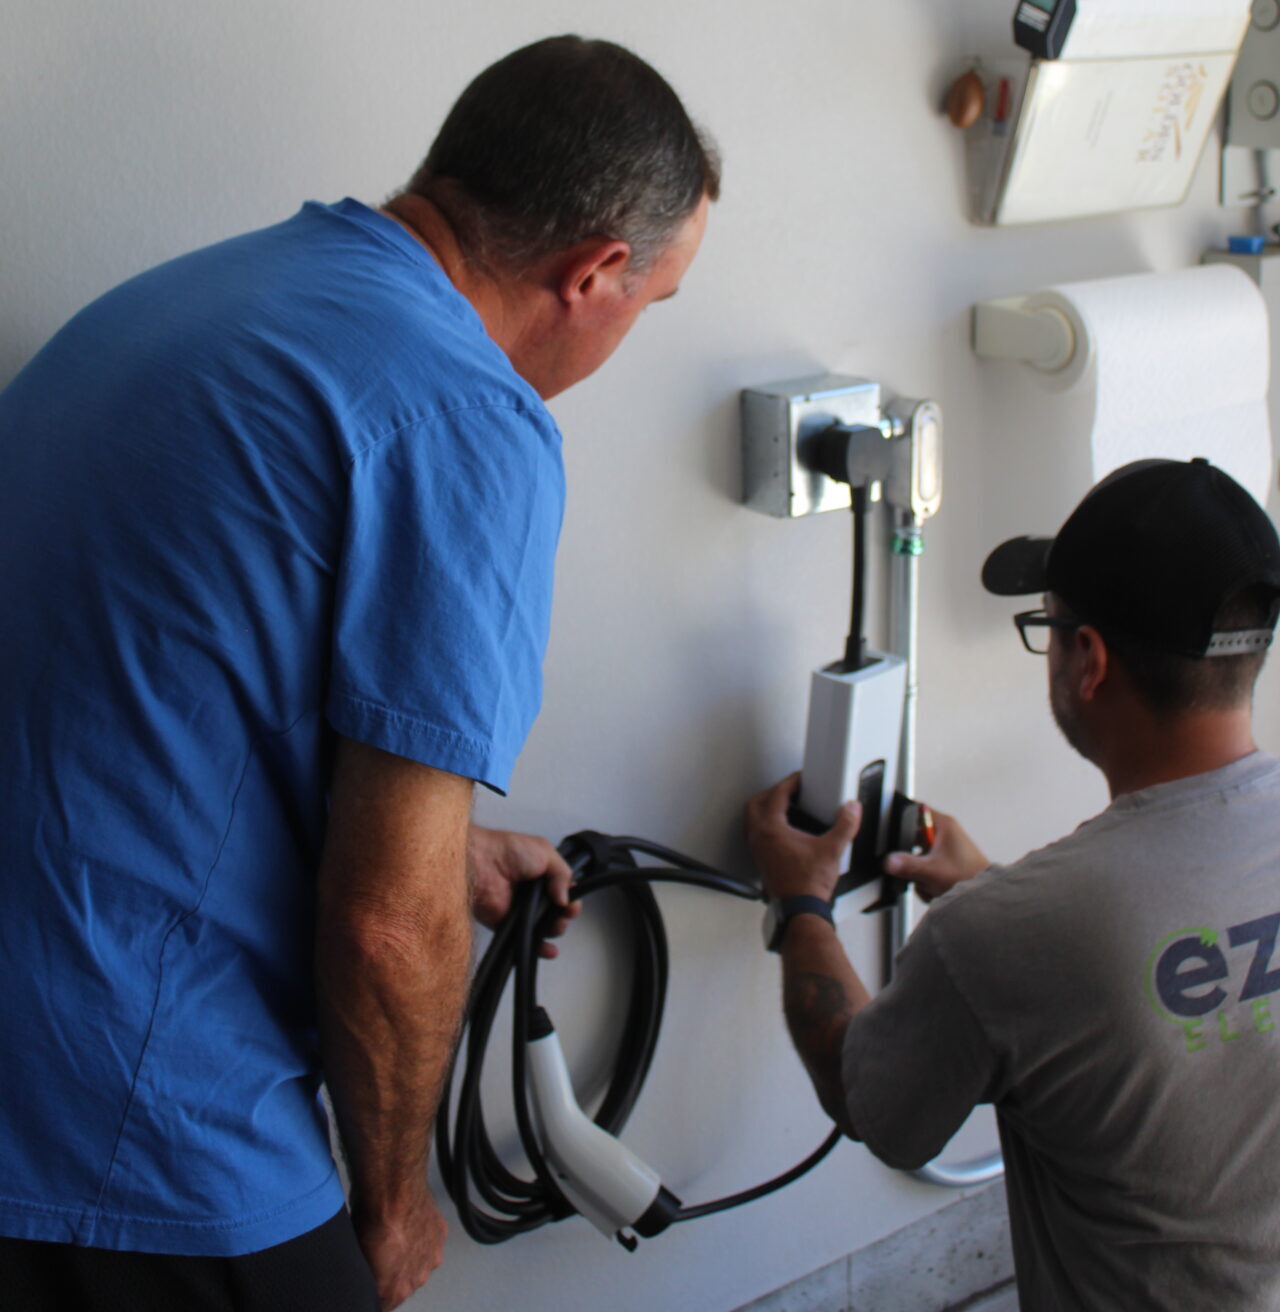
It is highly recommended to call a professional EV charger installer for this job. While some can assume it is a DIY task, a professional can assess factors like your electrical systems as well as the right spot to install your Tesla EV charger. Plus, they are equipped with the required tools.
Step 7: Install the Charger
Now it’s time to get your charger installed. If you’re using a Tesla Wall Connector, it will need to be mounted on the wall and connected to the electrical system. For the Mobile Connector, you’ll need to ensure the 240-volt outlet is ready for use. If you’re unsure about the installation, hiring a professional is a good idea.
Step 8: Plug in and Start Charging!
Once your charger is installed, plug in your Tesla and start charging! It’s as simple as that. You can now enjoy the convenience of charging your Tesla at home, saving time and money in the long run.

Saving Money with Tesla Home Charging
One of the great things about Tesla EV charging installation is that it can save you money over time. Charging your Tesla at home is usually cheaper than using public charging stations. Plus, you can charge during off-peak hours when electricity rates are lower, further reducing your energy costs.
Additionally, you can opt for incentives and rebates for EV charger installation in Colorado, including federal and state tax credits. Programs like the federal EV tax credit or state-specific programs can help you save money on both your Tesla purchase and home charger installation.
Final Thoughts on Tesla Home Charger Installation
Installing a Tesla home charger is a great way to make your EV experience more convenient and cost-effective. Whether you choose a Tesla Wall Connector or Mobile Connector, having a charger at home means you can charge your car whenever you need to. If you’re unsure about the installation process, hiring a professional is always a good option. With Tesla’s high-quality products and easy-to-use charging solutions, you’ll be able to keep your car charged and ready to go every day!
Don’t forget to explore local incentives for Tesla home charger installation to save even more money on your setup. So, what are you waiting for? Start planning your Tesla EV charging installation today!